Author Archives: Peter Clark
Repairing Atari Gen1 Aux Board
Going Roller Skating on Friday Night in the 70s
If you are like me, your childhood and young adulthood were spent in the 70’s and early 80’s. Where I grew up, in Beavercreek Ohio, one of the things my friends and I loved to do was go roller skating on friday nights.
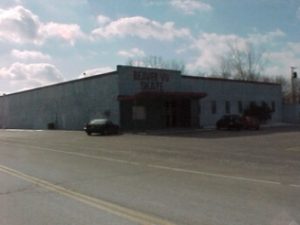 Our roller skating rink – Beaver-Vu Skating Rink – was behind the bowling alley (presumably run by the same people), and had all kinds of fun stuff to do.
I remember looking forward to friday night, being excited about the possibility of meeting a girl to skate with on the “slow skates”, where they would play slower songs, turn the lights down, turn on the disco ball, and you would hold hands for the length of one or two songs, and then each go back to your friends to share details of the experience.
Our skating rink had a snack bar along with pinball and EM arcade and video games, foosball, and pool. I don’t remember for sure but I believe my parents would usually give me enough money to get admission, rent skates, and then I would have enough left over for some snacks and a few games.
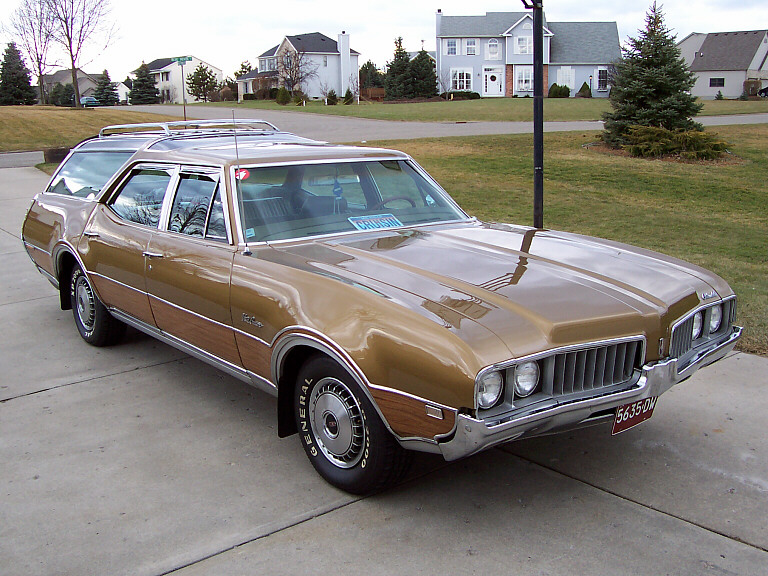
Vista Cruiser
A typical night for my friends and I would be that we would all pile into one of our parent’s cars, and they would drop us at the skating rink around 5 or 6. We always hoped that our friend Craig’s mom or dad would take us, because they had a station wagon that had more room, and if you sat in the back you could make faces at people driving behind you.
We’d pay the admission and then just have fun. This was so exciting because we were on our own – no parents!
A typical evening would be filled with alternating between some skating and improving our skills at roller disco, arcade games, foosball, snacks, and watching the girls skate around the rink.
I could never master dancing on skates, probably because I can’t dance off skates either. I could get funky every once in awhile, but that would usually end up with me wiping out on the concrete floor which wasn’t fun and usually very painful.
I don’t remember all the games that our skating rink had over the years I went there, but I do remember this is where I first saw Asteroids, Space Invaders, Gun Fight, Speedway and a bunch of other games I can’t remember now.
I remember the older kids totally killing us at foosball, but I learned a lot of good technique from those beatings.
If I remember right, the parents would come to pick us up around 11pm which was when the rink closed. I believe the last skate was the final slow skate, so if you hadn’t found a girl to skate with by then you were out of luck for that evening.
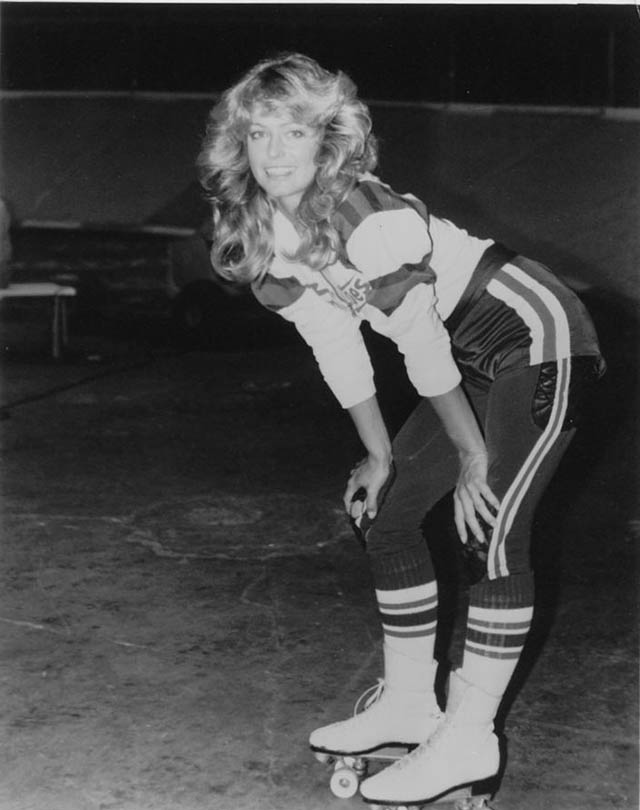
Digital Cameras or cell phones weren’t something we even dreamed of back then, so I have no photographic record of these times, but in doing a little research, I found some pictures posted on CNN from a book that Bill Yates recently wrote. I remember our roller rink being a little more modern, instead of wood floor etc. ours was concrete and cinder blocks – but otherwise the bell bottoms, everyone smoking, etc was the same. Something like this…

Sadly my roller skating rink closed sometime after I moved from the Beavercreek area in the early 1980s. It’s now empty and for sale. I suspect that roller skating was largely displaced by the opening of the mega shopping malls in the 80s. It’s ironic to see these malls now being displaced and empty/for sale as well. I guess it’s true that change is the only constant.
Anyway, thanks for reading and sharing some fond childhood memories.
Heathkit H89
Sea Raider Backglass Replacement
My Sea Raider had a lower backglass in seriously bad shape, and the upper backglass was scratched in the viewing port windows by someone probably trying to remove a sticker or something with a knife or scraper, so I figured I would replace them.
I found some posts on KLOV about a guy named Gary that reproduces them. About the same time I found him listing an upper backglass repro on eBay. I contacted Gary about the lower glass and he was able to reproduce both of them for me. Here’s what my lower backglass looked like before…
Yes, someone painted the back with some kind of black spray. I guess this was to stabilize the flaking paint, but look what it did to the look of the front!
It looked horrible on the game.
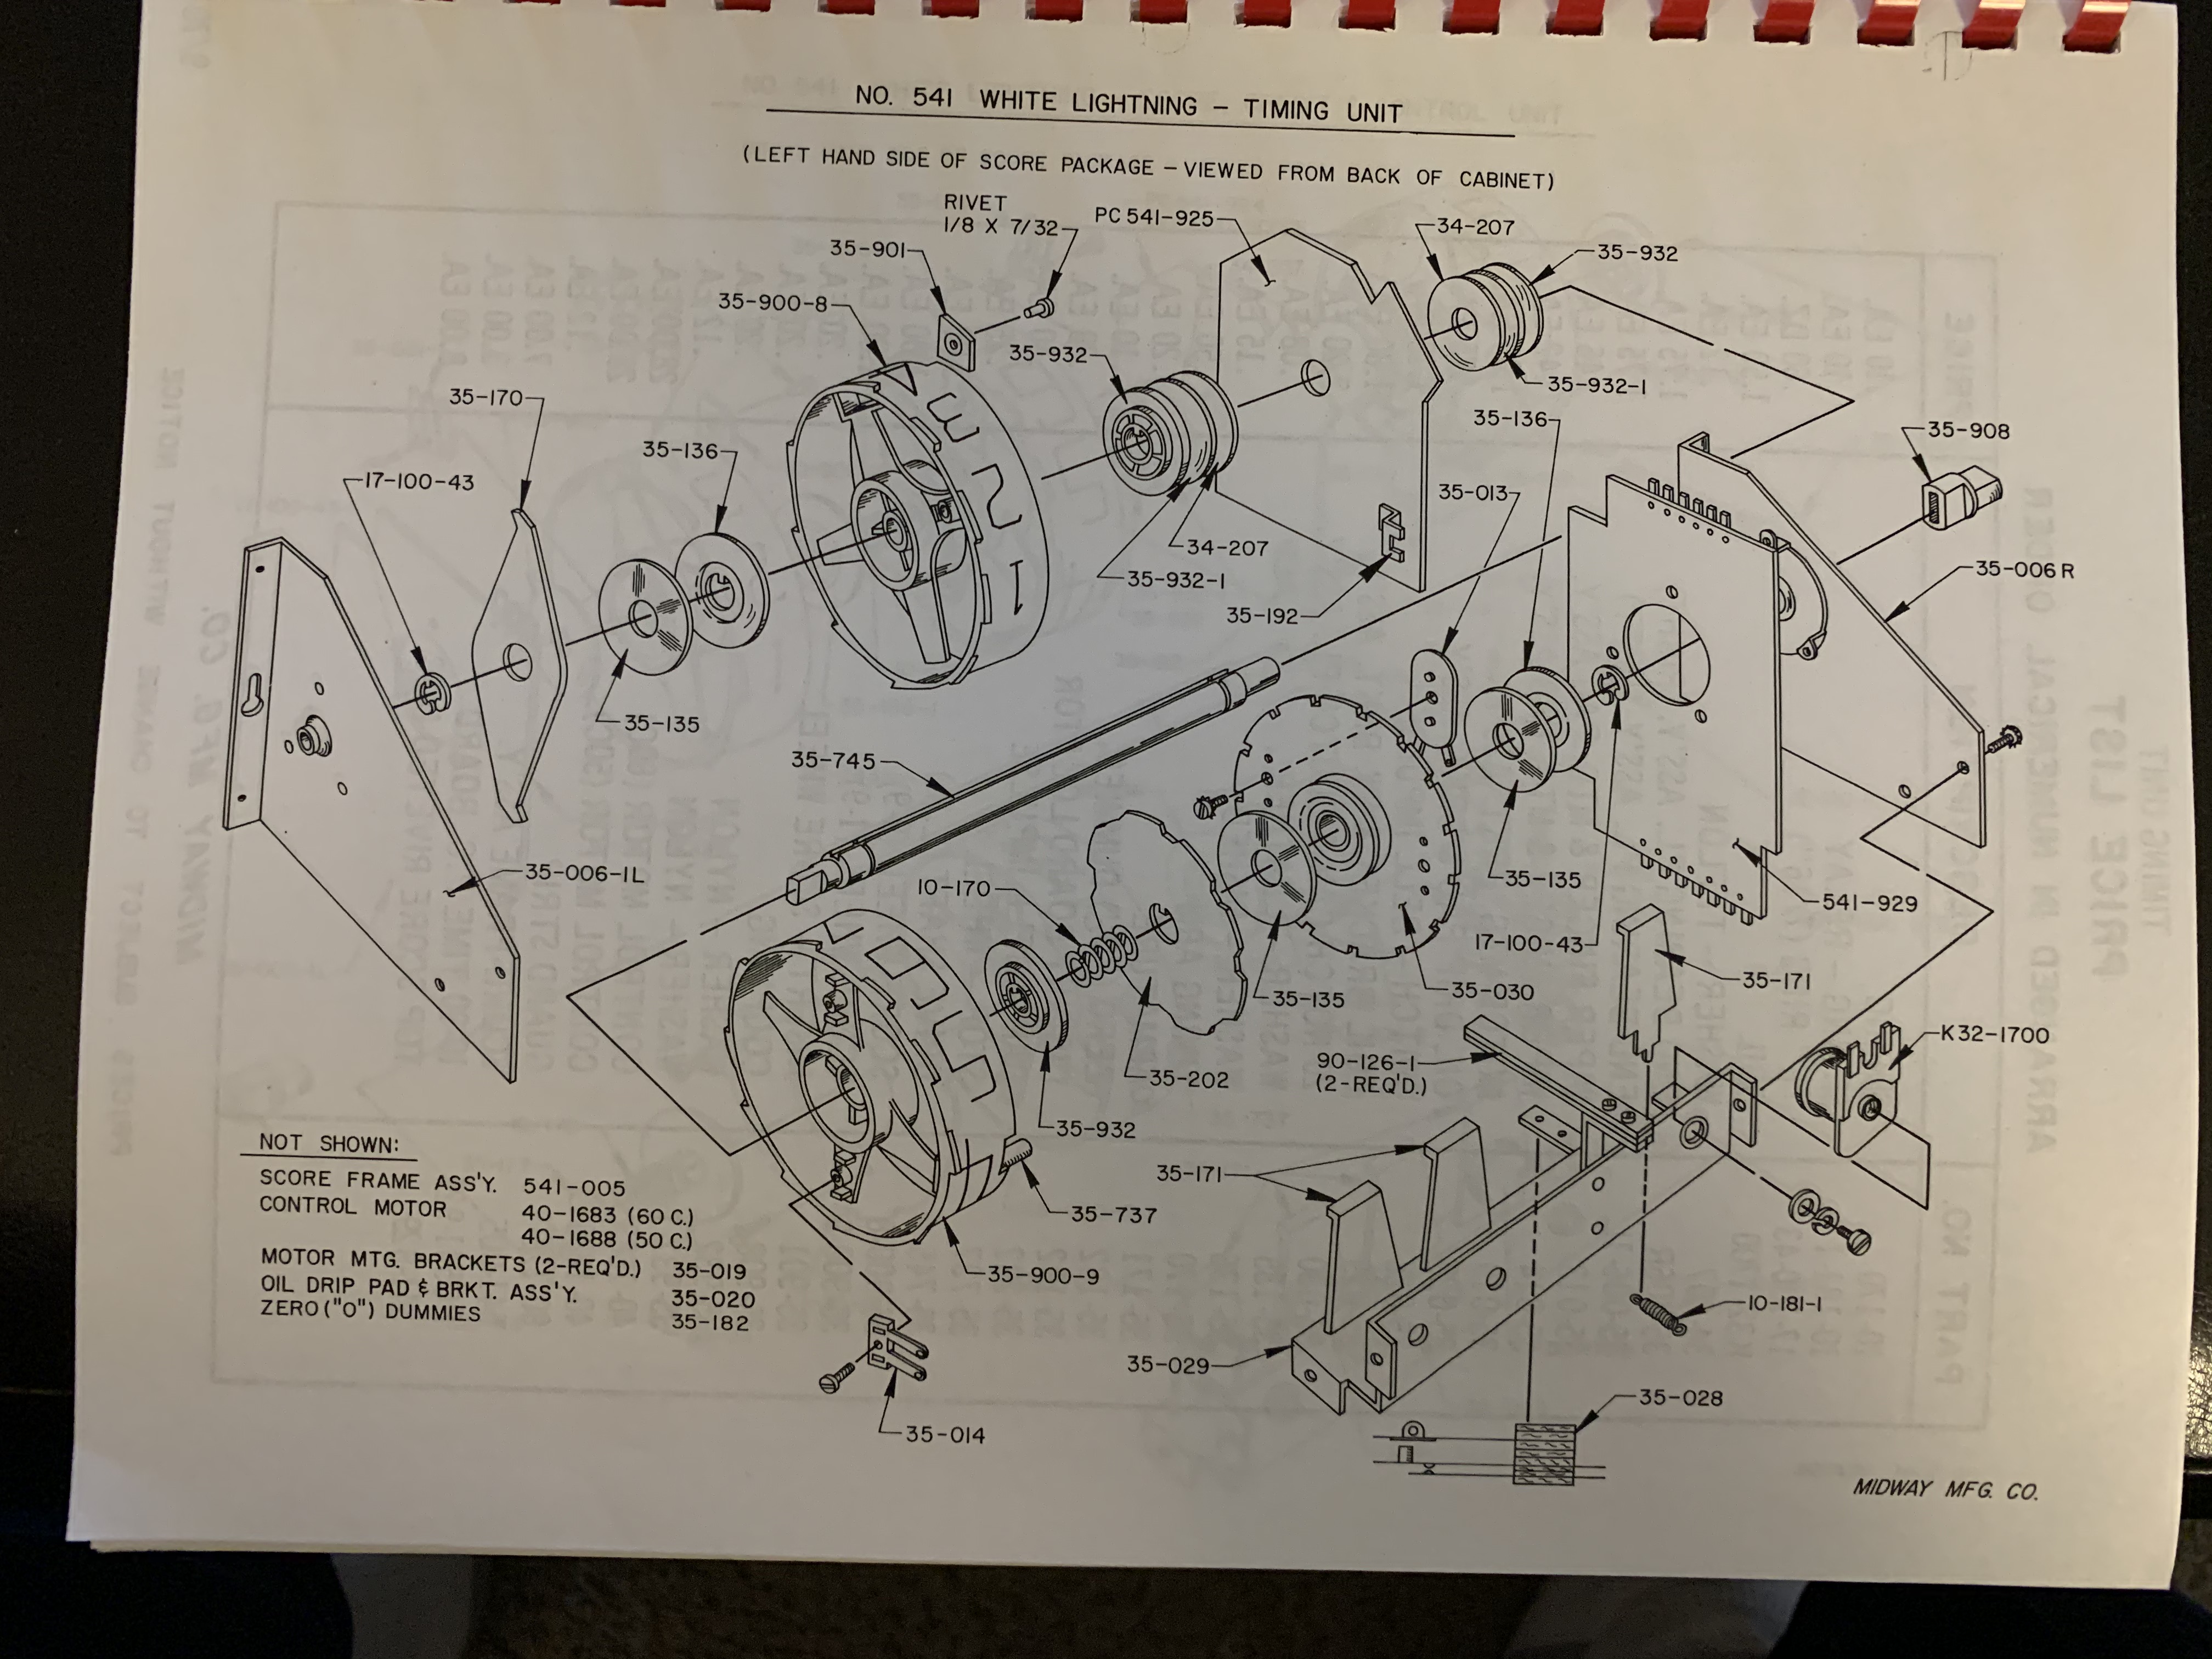
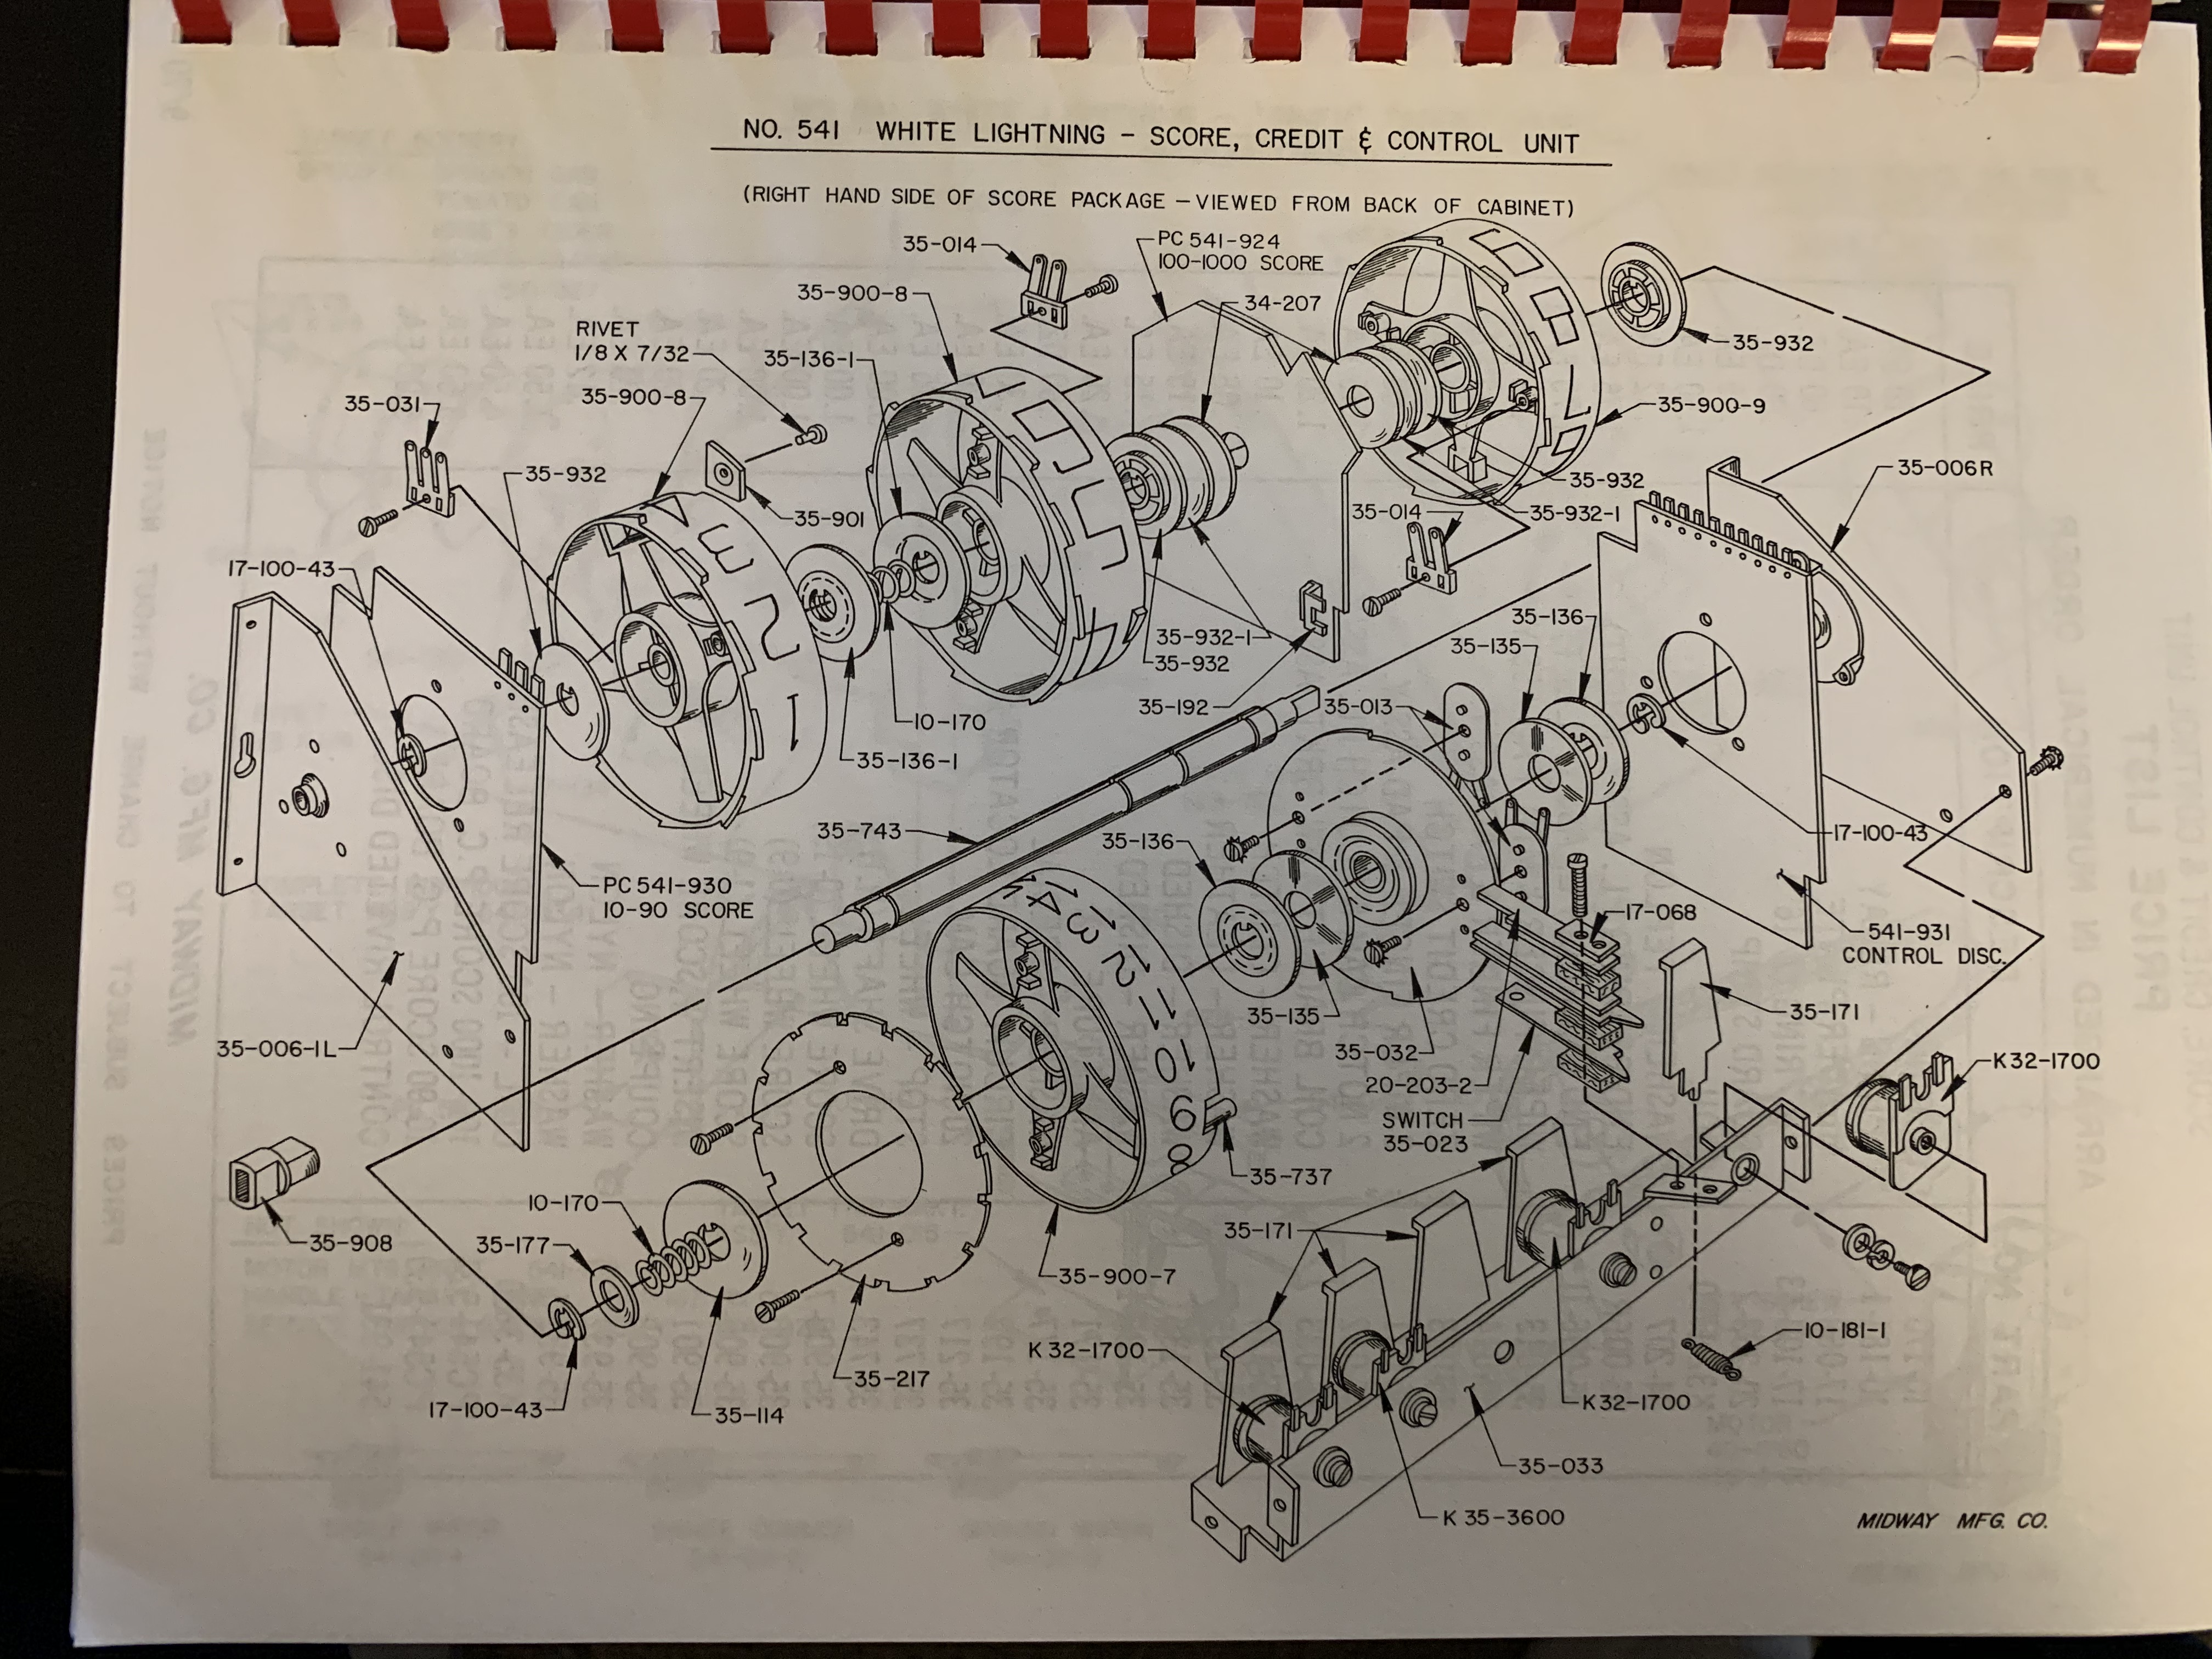
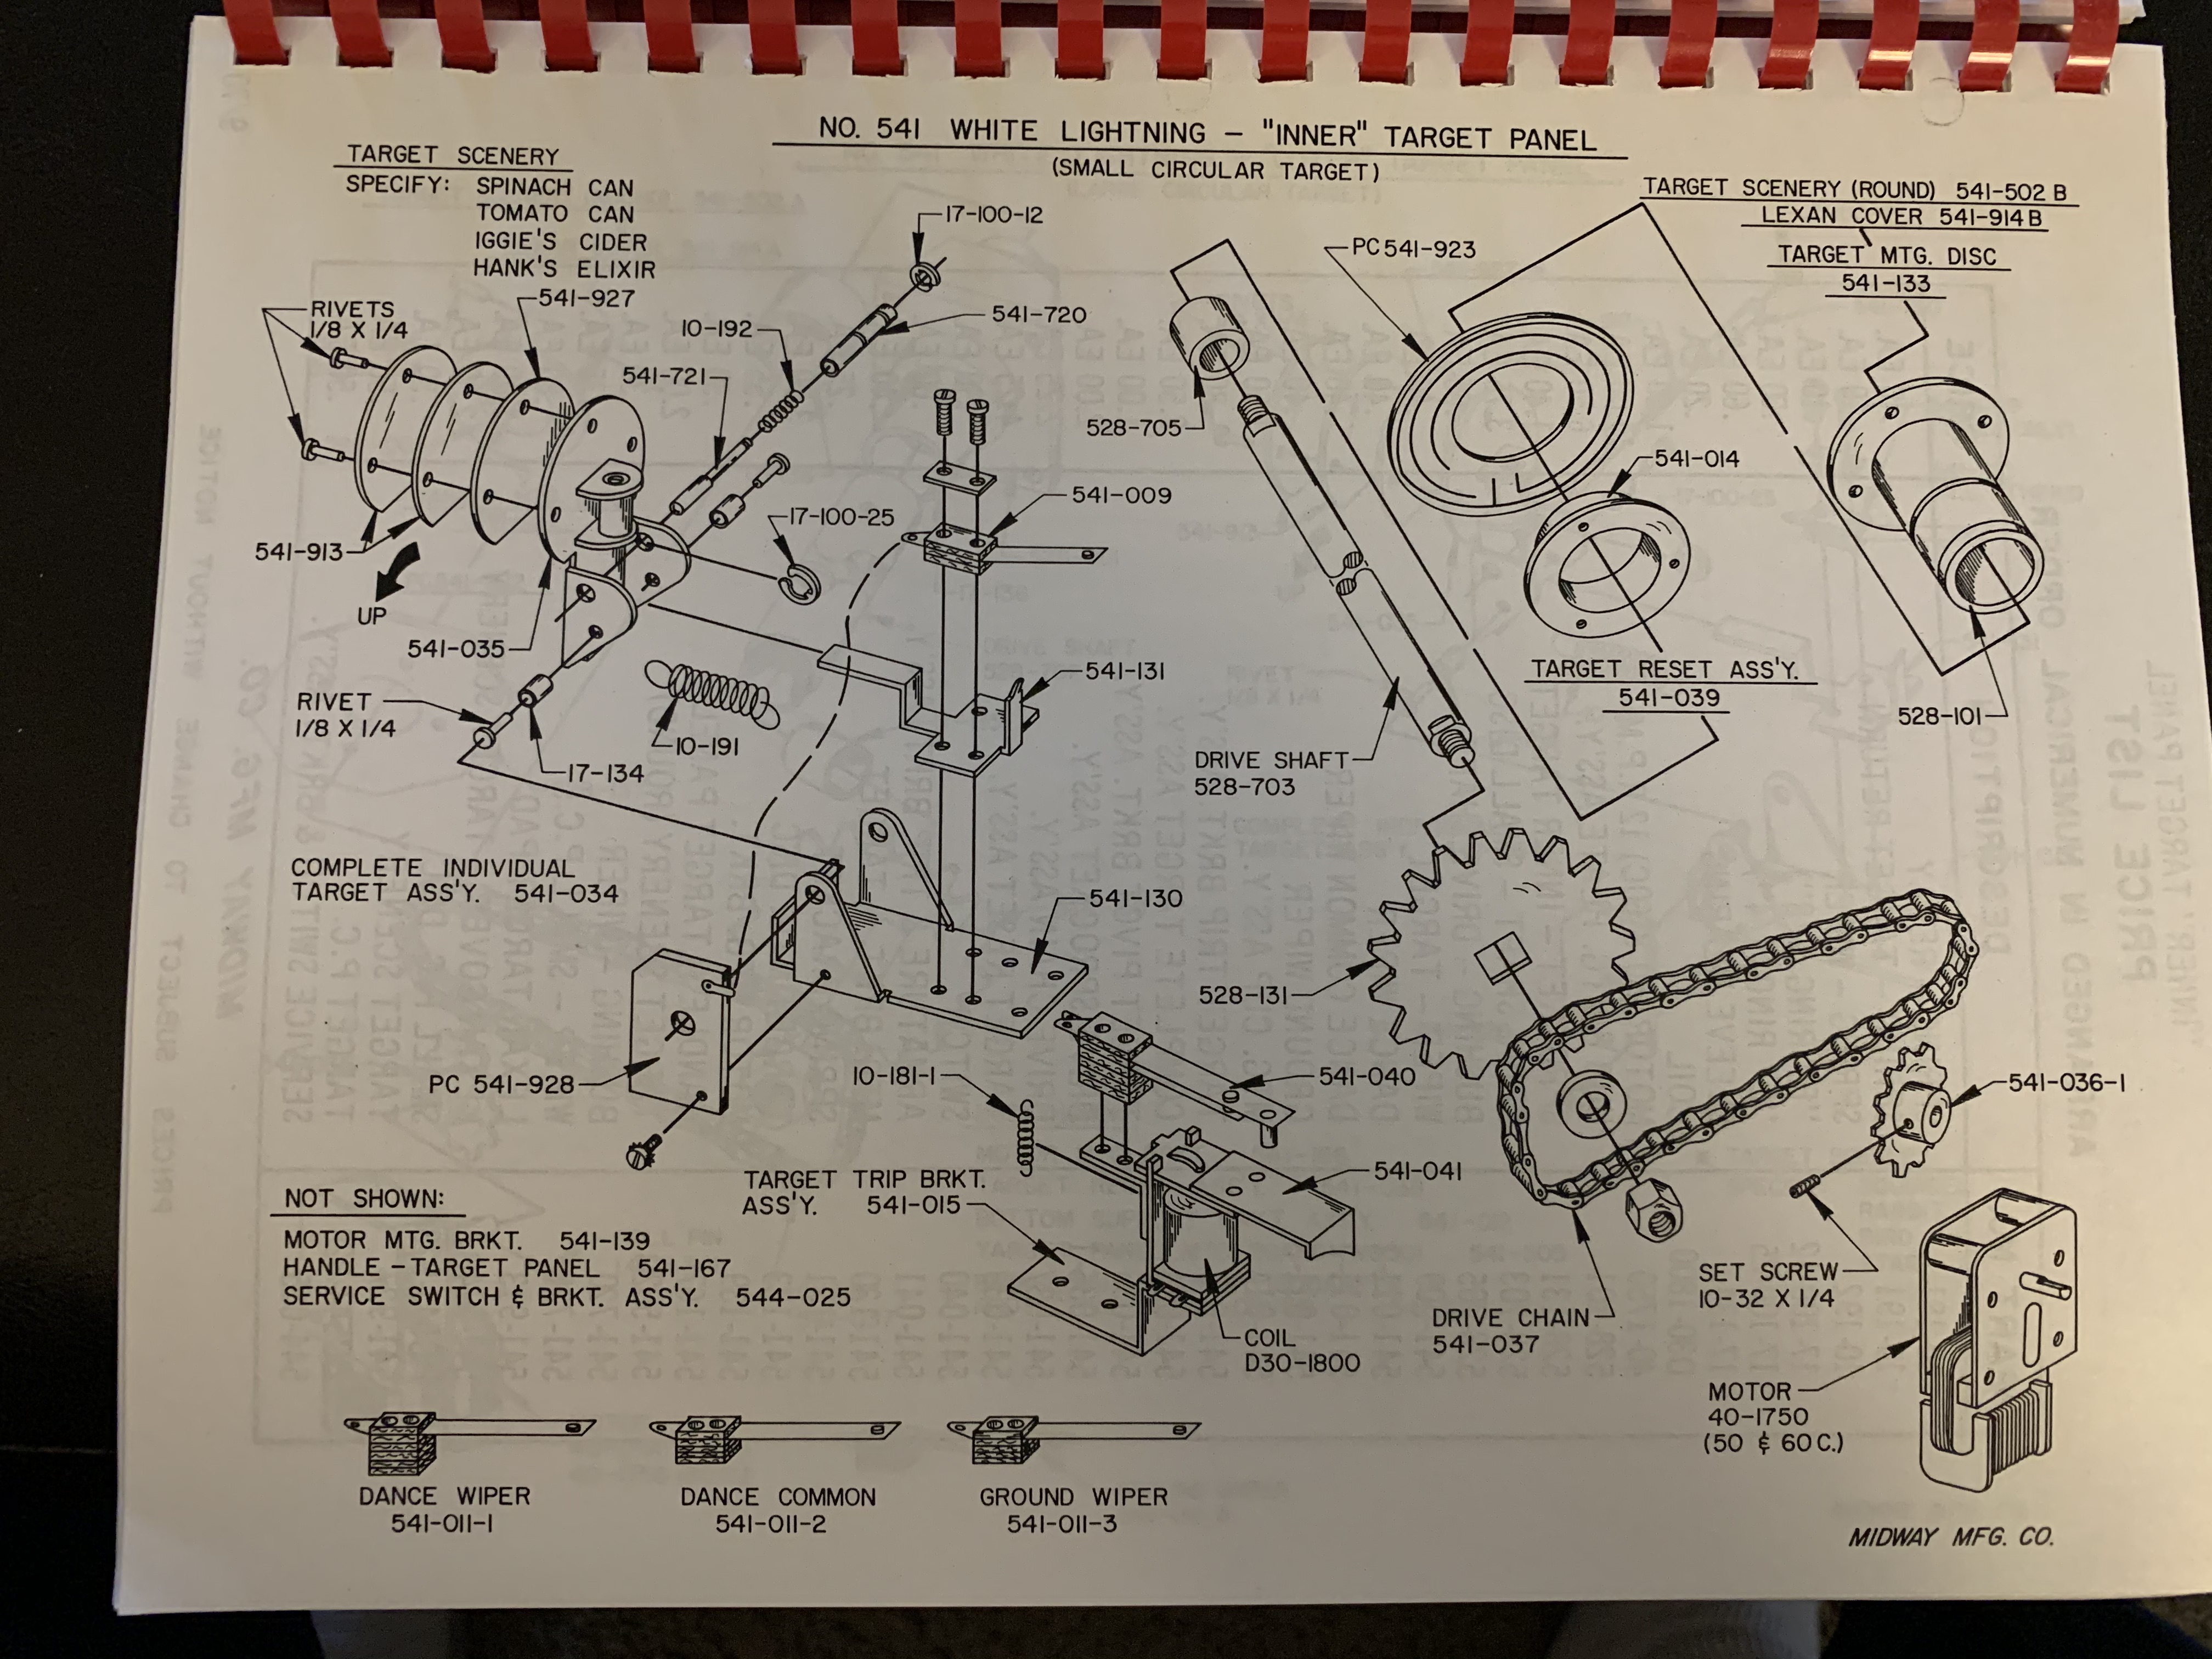
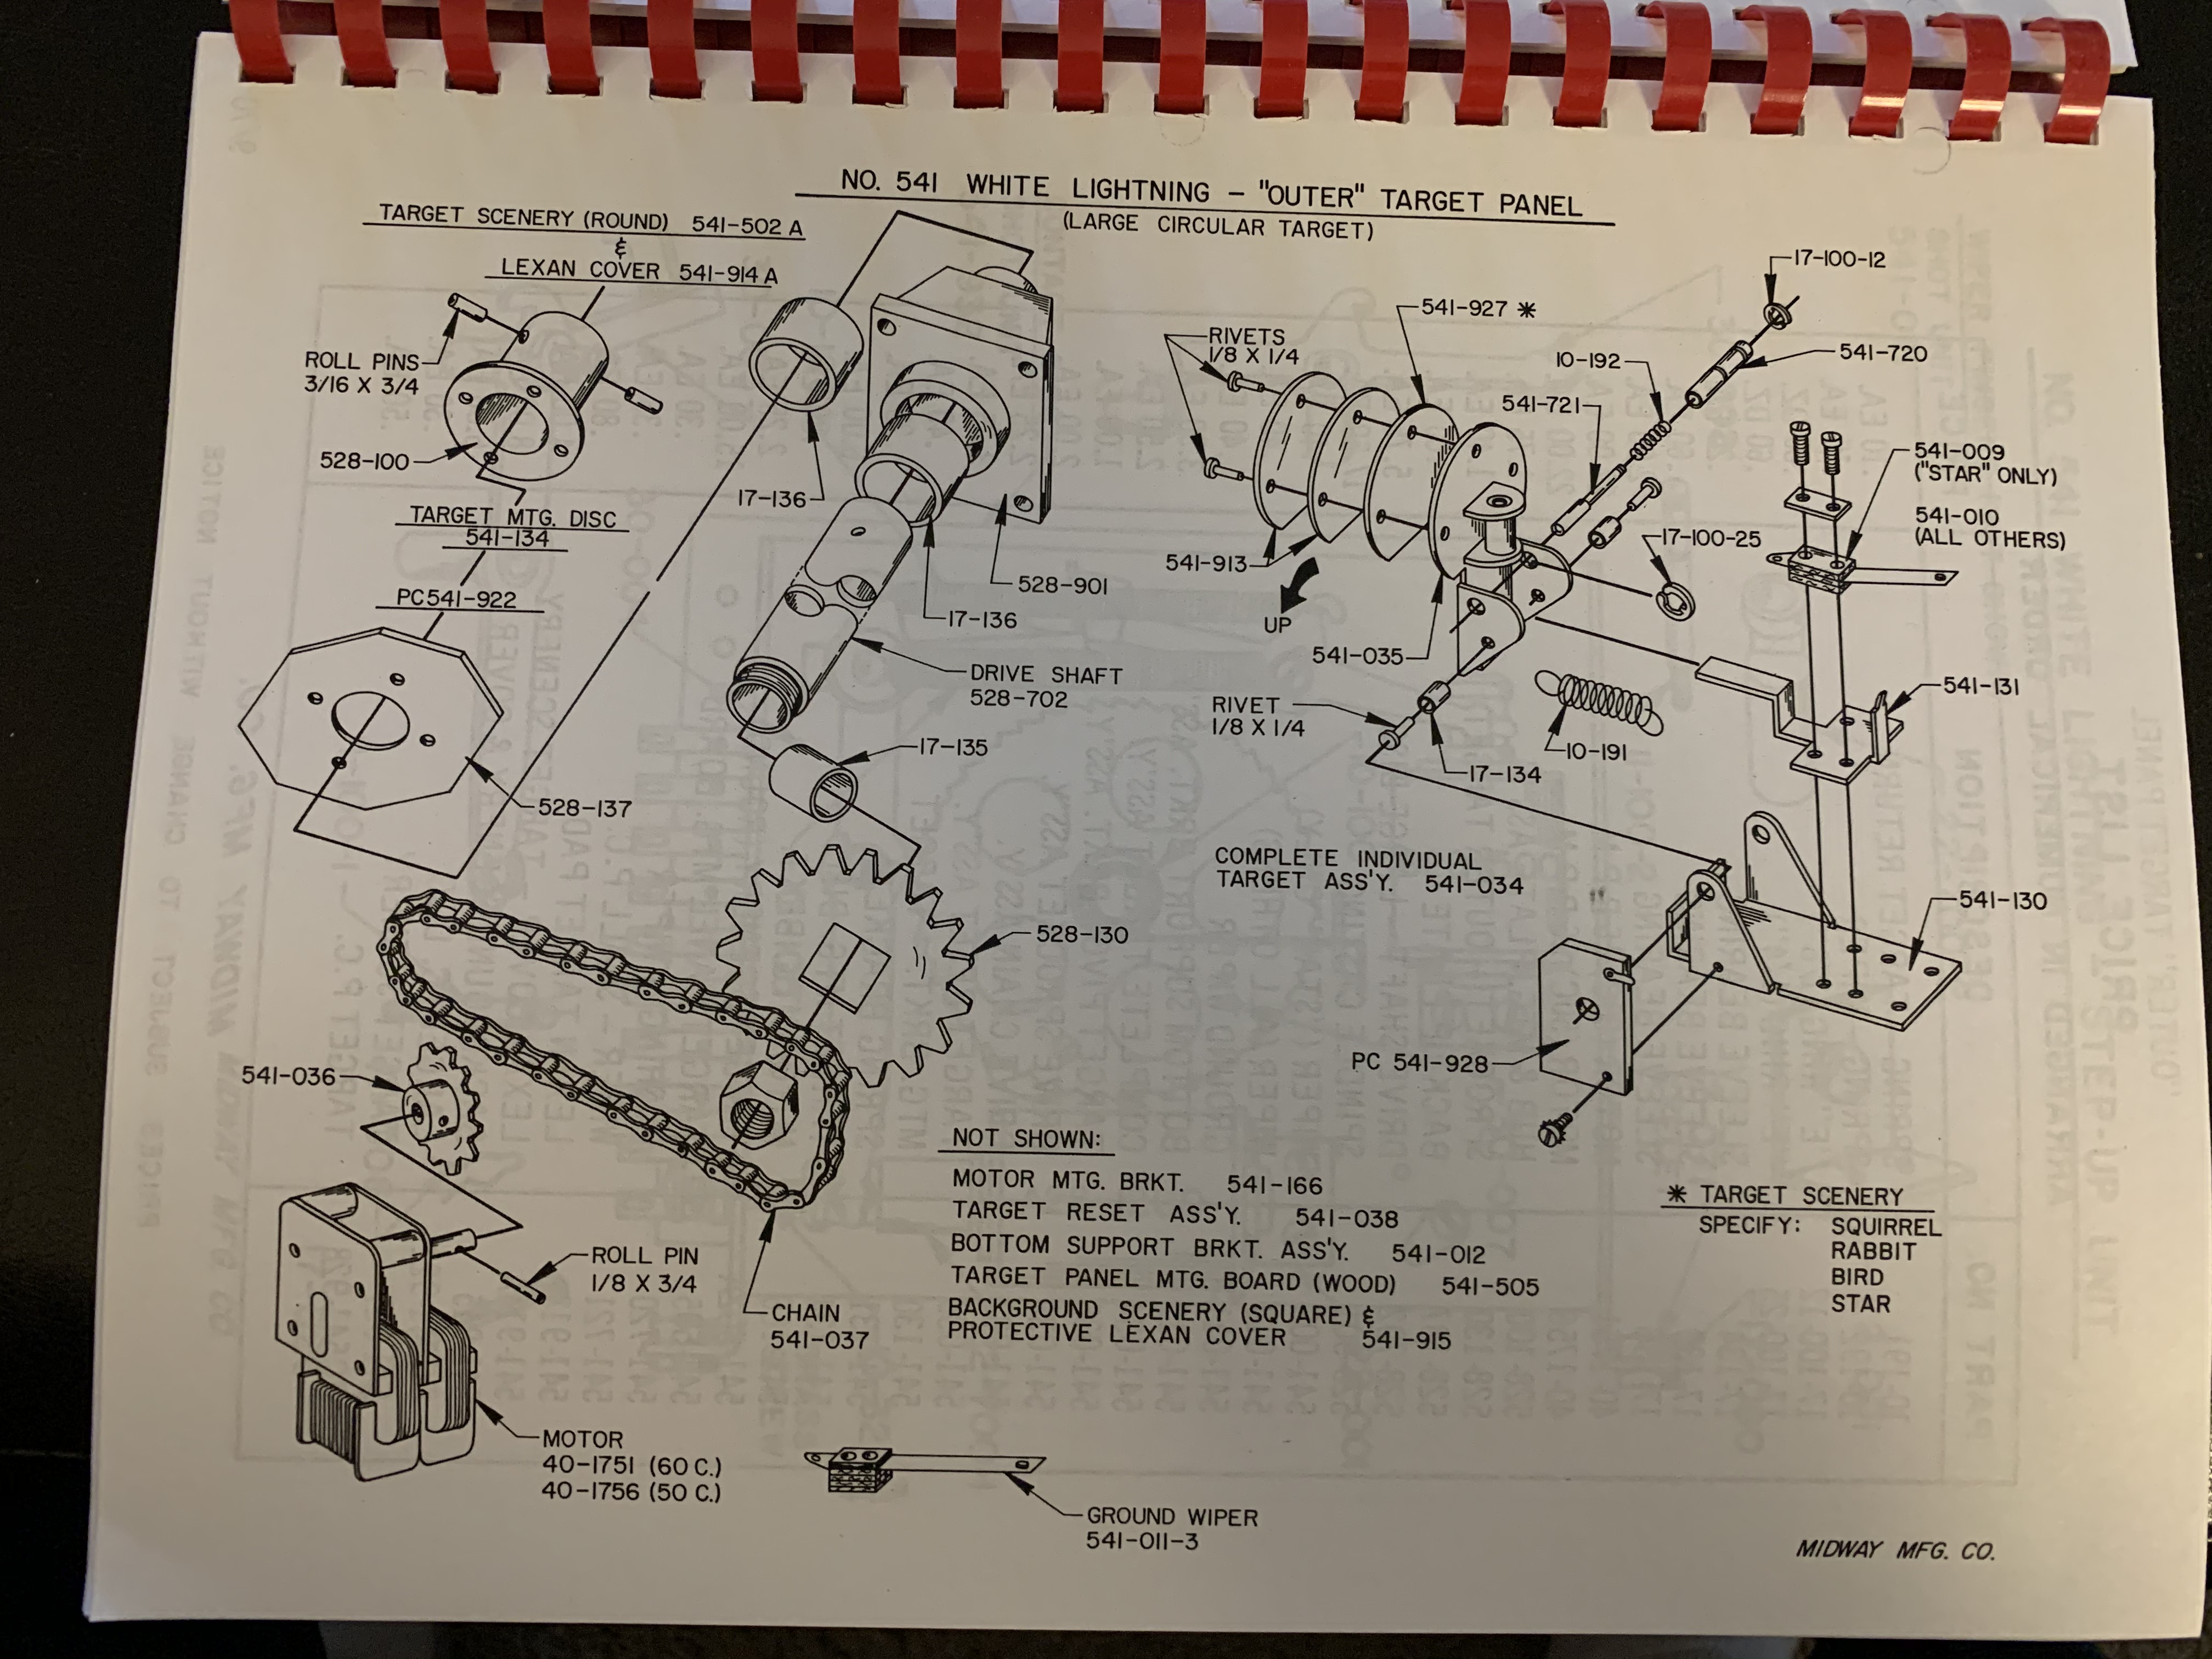
The lightbar arm has to come off and out to remove the “seascape”. The motor assembly for the control the arm has to come out to remove the arm. I removed the assembly, and then the lightbar arm by lifting it carefully up and out of the back/top of the cabinet.
Slide the target assembly straight out the bottom back by removing two screws that hold it in. Don’t forget to unplug the connector first.
Remove the “sea scape” by removing at least 4 hex head screws at the top on the sides and at least 2 long round head screws at the bottom. Be careful as the this assembly will fall/drop onto the jones plug connector at the bottom of the cabinet if you don’t support it. The cabinet must be tilted forward about 45 degrees or more in order to slide the assembly out the bottom/back of the cabinet. Also be careful because the sea scape material is brittle after more than 45 years. Many of my staples that hold it to it’s wood frame were no longer holding the material to the frame as the material had cracked around them.
Now you have access to the two boards that hold the bottom backglass in. While you’re here you might as well replace the blacklight, cause this is a pain in the butt to get this far! Also, check your bulbs in your lightbar, because it has to come out to change them, so while it’s out, might as well make sure they all are working, and clean them…
Once the screws are out remove the two boards, and then the backglass.
Reassemble in reverse order.
Here’s what it looks like with the new backglasses.
Ahhhh, much better…
See https://www.petesgameroom.net/1969-midway-sea-raider/ for more info.
Fixing Sea Raider Sound Issues
I have a 1969 Sea Raider that I bought earlier this year.
It has been mostly restored already as you can see from the pictures. It does need some minor work, but it is in good working condition. The top back-glass is in pretty good condition, but the windows that observers can watch you playing your game through are a little scratched up – I think probably from someone scraping off a sticker or tape with something that was too sharp. The bottom back-glass is in very rough shape. I’m not sure if someone tried to clean off the back of this glass and removed the paint, or if it just fell off on its own, but either way, it’s difficult to make out most of the original art. I’m not sure if I will get these reproduced or not.
This is another game I remember from the skating rink when I was young. Probably from 1975-1979.
It is completely electro-mechanical except for the sound. It has some simple circuits that produce 1) a sonar “ping” sound, 2) a torpedo “swooshing” sound of the torpedo launching and going through the water, and 3) an explosion sound when the torpedo hits a ship.
This game’s sound is working, but the explosion didn’t sound like I thought it should. It would make 2 quick ‘banging” sounds that were vaguely like an explosion, but just not like what you’d hope for. When you are firing a torpedo and hit another ship, there is a certain satisfaction that comes from a good explosion, so this had to be fixed!
I found an article where someone else was documenting repairing the sound on their Sea Raider. Luckily, the parts were all present on my machine.
In my game, the 500mfd capacitor had been replaced (I could tell because it was newer, plus it wasn’t soldered in (also, it was only 470mfd). I guess the previous owner must have been trying to fix it also. But even though they had replaced the cap, the sound still wasn’t quite right. I started to do some diagnosis. I tried larger and smaller value caps with no change in the sound. Then I tried with no cap – same sound. Obviously something else was wrong. I didn’t have a schematic, but as far as I could tell, there was only one other component in the that circuit – a really old diode. This picture shows the cap and diode.
I figured the diode had to be bad so I removed it and tested it. It measured 2 ohms resistance in both directions… that’s not right. I looked up the specs and found a similar diode in my stock and soldered it in. That was it, now the sound was working correctly. I think I need to go up to a 500mfd cap because the game is supposed to have a 2-3 second explosion, but the delay I’m getting with the 470 is about 1.5 seconds. A little longer would be nice, but I don’t have a cap rated at the right voltage on hand so that will have to wait.
Pictures for Evan
Close of up cap circled above. I twisted it around to see the writing on it.
The cap circled above looks to be a 1000uf 25v electrolytic.
The other item circled looks like a diode with “H640” written on it. Here’s a picture.
Fixing connector contact issues with DeoxIT
I was having some trouble with the switch matrix connectors on my Wiliams Slugfest, and I was faced with repinning them. I had bought this tube of something called “DeoxIT” from somewhere (can’t remember where) a while back, but had never used it. I figured, what the heck, I’d give it a try. It comes in a squeeze tube, and it is the consistency of oil. It’s transparent red in color. I cut the end off the applicator to open it, and slid the end over each pin on the switch matrix connectors of the CPU board, gently squeezing the tube to make sure the liquid was getting on the pins. I used it sparingly. Once it had gotten some on each pin, I slid the connectors back on and tested the machine – everything worked perfectly. I put the machine back together and kept testing – all good. That was about a week ago, and I’ve tried to test it each day since and so far so good. This stuff might come in real handy in the future for these kinds of issues. I’m sure there situations where you should just bite the bullet and repin the connectors, but in my case this totally fixed my issues. I’ll update if anything changes.
Anyway, here’s a link to the stuff I used. http://store.caig.com/s.nl/it.A/id.2899/.f
Rebuilding a Williams WPC (1991) Flipper
Here’s how to rebuild a Williams WPC era flipper. Start with a flipper rebuild kit from one of the retailers (marco, pbr, MAD, etc).
Step 1) Desolder the 2 wires to each flipper coil. The wires have already been removed in this picture, but you want to remove the wires from the game to the flipper, they will be on the 2 outside lugs of the coil. Remove the screws and loosen the bolt that holds the flipper itself on, and then remove the assembly from the game.
Step 2) Remove the coil stop, slide the coil back from the plunger, remove the plunger, the spring, and desolder the coil wires from the end-of-stroke switch.
Save the insulation on the leads of the capacitor to use on the new capacitor.
Now that you have the eos switch and capacitor desoldered, get the new ones, put the insulation from the old cap on the new one.
Step 3) Remove the old coil sleeve. This may be difficult, and you may need to use needle nose pliers, and some force. Be careful though, because if you pull off the lip, it may be very difficult to get the rest out.
Step 4) Slide the new coil sleeve into the coil (make sure you put it in the right way). It inserts from the end without the lugs.
Step 5) Mount the new switch and cap to the bracket, and run the cap wires to the switch and resolder them, leaving a little extra solder on the switch ends to make it easier to attach the wires from the coil.
Step 6) Put the spring on the plunger, and insert into the bracket, then put the coil back on, over the plunger, holding the spring back. Seat the spring into the spring holders on the bracket. 
Step 7) Re-attach the coil, and coil stop, tightening the screws. If you have a new nylon flipper bushing, replace that now, and re-attach the bracket assembly to the game, and slide the flipper into the pawl, and tighten the holder bracket.
Bride of Pinbot Restoration
I’m going to be going through a restoration on my Bride of Pinbot over the next couple of months. I’ll post pictures and narrative of what I’m working on here.
Black Hole Pinball Restoration
Gottlieb made some really cool pinballs in the early 80’s. Some of my favorites are Volcano, Haunted House, and Black Hole. These machines are fun to work on, and fun to play. They are all wide-body pinballs, made close to the same time.
Volcano has the distinction of being Gottlieb’s first pinball with speech, and although primitive by today’s standards, is pretty cool sounding. I believe Haunted House was the first pinball to have 3 playfields – a “basement”, a “main floor”, and an “attic”.
I have a Volcano and Haunted House in my collection, and they both get a lot of play, but I have to say the Volcano is usually rated higher by the players.
I’m going to go through this entire machine systematically, so the first thing to do was to remove the playfields to get easy access to the cabinet.
A thorough vacuum of the cabinet while the playfields are removed is essential as it’s tough to reach all those corners when the machine is assembled.
The metal on these machines seems to have a tendancy to oxidize worse than some others I’ve seen, especially if it’s been exposed to any number of liquids, oils from hands/fingers etc. This machine has had some various liquids spilled in it when it was operated, and that has led to some areas that will need some special attention.
Also, I noticed that in the series of moves this machine has gone through recently, the joint at the front right corner is starting to separate, so it needs to be glued, screwed, and clamped back together.
This machine got new flipper switches recently, so those are in real nice shape. As are most of the cabinet components. This machine will get a new power cord, and also new electrolytic caps in the main power supply. I’ll probably replace the bridge rectifiers as well, as these look like the originals and will steadily lose efficiency and will eventually fail.
July 23rd Update
A fair amount of work has progressed on this machine. The main playfield is set up here for restoration.
It’s not the most professional work area, but hey, it works for me. I’ve got a nice bright halogen desk lamp that I use for light, and a pretty nice (but cheap) soldering iron (left side of table) from mpja.com (they sell a lot of great surplus electronics stuff). Mean Green and Windex are two of the cleaners I use a lot on pinballs. I go through a lot of paper towels when cleaning up a pinball as well. Old rags are a good idea to have around for cleaning up and polishing with Novus.
You can notice some writing on the pop bumper driver boards above. I used Clay’s guides to fix and upgrade the pop bumper driver boards in this game to make them more reliable. I’ve seen that you can also add led’s to these to show that they have power, and when they are being activated to help with diagnosing problems. I wish I had added those feature, oh well, next time. 
Many of the playfiled components have been removed to asses the work needed, and to expose areas that obviously need some attention. The area under the popbumpers being the worst.
Painting and detail finish work isn’t my strong suite, but some areas of playfield paint are pretty forgiving. I use craft paints from Michael’s or Hobby Lobby, along with a variety of sizes of paint brushes. I use spray clear coat, I spray it into a glass dish, and then apply it with a paint brush (for small areas) to protect the paint. I’ve learned these techniques from the This Old Pinball videos and Clay’s website. Here’s what the area looks like after touch-up.
Not perfect, but good enough I think. It will look even better after some clear coat goes over the paint to protect it and give it a gloss to match the playfield.
This playfield has a partial mylar coating, which is really not in the greatest shape. It has protected the paint, but is a bit cloudy and makes the playfield look a bit washed out. Short of removing the mylar, which would risk pulling up a lot of the paint as well as creating the problem of removing all the glue there’s not a lot that can be done to improve this. I will take some plastic cleaner/buffing fluid and run a buffer over this later to see if I can remove some of the cloudiness.
There are some areas of the mylar where the playfield wasn’t properly prepared and some wax or dirt remained when the mylar was applied. This causes bubbles under the mylar where the glue to did not adhere to the playfield as it should have. Again, there’s not a lot that can be done about this. One area was particularly bad, and I decided to cut out the offending piece and replace it with a new strip cut to fit the area. Notice also how the window to the lower playfield gets wax and other junk under the window between the plastic and the wood “lip” that it rests on? Also, the paint gets really abused along the lip of this window because of the transition of the ball across the plastic and wood. I will give this area a good cleaning, light sanding, and new paint and clear coat.
I ordered about $500 worth of parts for this machine. I will be rebuilding the pop bumpers, replacing many coils, switches, and drop targets, targets, and plastic posts. Here’s some of the parts that will be replaced. I know the coils really don’t need to be replaced, really just the coil sleeves, but I went a little overboard on this one.
Main power supply before and after
http://www.bigdaddy-enterprises.com/sells some nice electronics kits for Gottlieb machines. The main power supply kit includes the bridge rectifiers, filter caps, and a couple of other components. I like to replace all of these components.
New Instruction Cards
The http://www.ipdb.org/ has instruction card scans for many machines. I download the PDF of the cards and print them on card stock paper in my ink jet or color laser printer on high ink/dpi. I got new plastic covers for these cards from Pinball Resource. I’ve had an idea I haven’t tried yet. Instead of new plastic covers for these score cards, how about laminating them? I figure it will look the same when in the machine, the cards will be less likely to warp and will stay in their spot better, and handling them won’t leave oils that will discolor them over time. I’ll probably try this on the next machine I do.
New Power Cord
There was an old, nicked up power cord on this machine. It’s pretty easy to replace these, and even though it could be argued it’s not entirely necessary, the cord is 30 years old, and a new one will look a lot nicer, and is safer. I found one of the original tags from the machine when it came out of it’s box inside as I removed the old power cord.
Flippers
The flippers need some work. I’m going to replace the coils and coil sleeves for sure, but as I disassembled them, I noticed it looks like a few of them have been oiled or greased. This really ruins the operation of coils over time. I’ll need to clean these up real good.
Drop Target Replacement
These old drop targets are pretty beat up, so they are getting replaced with brand new ones .

The back plate has to come off the drop target unit. Then each target is accessible. Remove the spring, and work the target off the arm. When you are putting the new target on, make sure you look and put them in the right order. It really sucks to get one of these all the way back together and realize you’ve spelled BALCK rather than BLACK.
Pop Bumper Rebuilds
The pop bumpers are week, and pretty worn, so they are getting completely replaced with new bodies, skirts, rings, coils, and switches.
Make sure you clean and polish the plunger to make these kick like they should.
Don’t forget to double check your assembly of the new pop bumper parts as once the lights are soldered back into the pop bumper, and all the components are re-attached it’s a real pain to take these back off. Look how nasty the “spoon” switch blade gets over time. This is from all the crud that drops down through the playfield and accumulates in these.
Switch adjustment
It’s amazing how much switches get abused over the years. Just have a look at this one! Each switch needs to be looked at to make sure it’s adjusted properly. Otherwise, features of the game won’t work properly. I use a switch adjustment tool to bend the blades as necessary.
Upper playfield

Back Box
The paint around the border of the back box was getting tatty, and there were a number of scratches and dents, so I removed this, sanded it down, and repainted it.
I had to re-do the paint a few times as I learned the technique to use spray paint. I ended up using Ace Hardware brand gloss black spray paint. I sanded down to bare wood, vacuumed, blew it off with a compressor, and then tack clothed it. Then I did a coat of grey primer, let it dry for a day, then 3 coats of black, letting it dry for a day each time, with a very light sanding of about 800 grit sandpaper between each coat. Turned about pretty nice. Just make sure it’s warm enough where you are painting. The colder it gets, the paint tends to gum up.
Cabinet Sides
Before
After
Not perfect, but much better than before…
I mixed up a blue color to match the paint on the machine and very carefully touched up the scrapes on the machine. You can notice where if you look very close, but from more than about 2 feet away, it matched very well. I didn’t attempt to do the white as I didn’t have the confidence I could do that w/o it being visible, and it’s harder to see the scratches in the white anyway.
